 Path to the main entrance of DeAnza College's Fujitsu Planetarium, whose blue dome can be glimpsed through the redwood grove that shelters it.
While I have
posted before about the installation of remarkable new technology in the planetarium I'm privileged to work in, I have not until now posted any images of what that technology can produce. In part, that has been due to the imaging challenges involved: the planetarium simulates the night sky in all ways, including darkness. That and the odd geometry involved in shooting photos of images projected on a hemisphere was enough to keep me from learning how to manage it for a while.
But I'm starting to be able to do it.
 Mars and Phobos, seen from about a hundred kilometers above the latter, as they would have been seen at about 2pm, Pacific Daylight Time, this afternoon.
The "Two Skies" part of this post's title refers to the two sky simulation systems at the heart of the planetarium's renovation. I refer to them as the "space simulator" (SkySkan's all-digital system) and the "sky simulator" (Konica-Minolta's new-generation Infinium-S optical-mechanical system.) Each does a different job in magnificent fashion.
The Space Simulator
SkySkan's digital system provides me with the ability to "fly" through a huge database which includes, among much else, accurate information about the locations, angles of illumination, and orientation of thousands of solar system objects at any time within several thousand years of now, both forward and backward in time.
 Jupiter's inner satellites' orbital paths and their locations at about 2:15, PDT, June 25.
It's important to note that the images in this post are actual photographs of part of the inside of a planetarium dome, not screen captures from a computer monitor. Unless otherwise noted, each of the images here cover the same area of the dome, a slice about 25 feet wide and commensurately high. The dome itself is a hemisphere 50 feet in diameter, and the camera's location was about 35 feet from the point of aim. This means that, while not particularly evident, the edges and top of the frame are fairly significantly closer to the camera than the center and bottom (which is just above the bottom rim of the dome.)
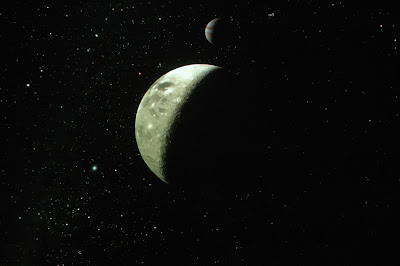 Simulated Ganymede with Jupiter in the background, June 25, 2009. This and the other "space simulator" images in this post are 20-second exposures with a Nikon D70 at ISO 400 using an 18mm lens stopped to f/8.
It is also important to note that the images here are not frames from a movie. The operator of the system is completely free to specify location, time, and direction of view of the "camera." Navigation is remarkably simple -- but what goes on under the surface isn't. The database is manipulated by a stack of ten quad-core Intel computers. One computer orchestrates the other nine, one is dedicated to managing sound for applications that have it, and the other eight each manage one "channel." Each visual channel is projected on a "tile" that covers 1/8 of the dome, and the ensemble is remarkably seamless in appearance. Projection is done by a pair of cinema theater grade Sony digital projectors with special optics, each of which handles four of the channels.
 Looking back toward the Sun from Saturn on June 25, 2009.
The detail and accuracy in the database (which is frequently updated by SkySkan) is astonishing -- and very, very useful as a teaching tool. The above image of Saturn, for example, shows some interesting things in the shadow of the planet across the rings toward us. (Click on the image to see it larger.) Notice that you can see some stars
through the rings in the shadow? That's not a mistake: there are places in the rings where the material is thin enough for that to happen... and places where it isn't. If we shift our position a little down and to the right...
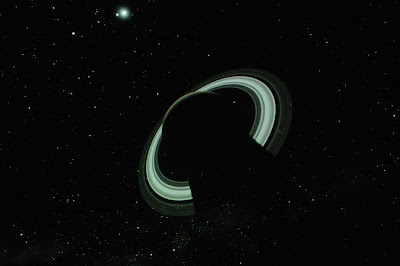
... the two stars that shone brightly through the "Cassini Division" in the previous view are now blocked by the more richly-populated A Ring (the brightest component of the system in reflected sunlight.)
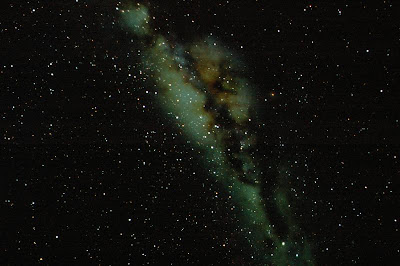 View toward the center of the Milky Way Galaxy. If you click on the above image, you'll see that all of the stars have color. Those colors (based on the stars' spectral types) are not usually evident to most planetarium patrons except for the very brightest ones -- as is the case in the real sky -- but they're there, nonetheless.
The Sky Simulator
The other system, the
Konica-Minolta Infinium-S, can't fly us around the solar system, but it provides a much more realistic simulation of the night sky as seen from right here on Earth.
The optical-mechanical projector at the heart of the Konica-Minolta system is an engineering marvel, and I don't have a clue as to how it performs its magic.
Until very recently, all planetarium projectors achieved different brightnesses for their projected stars by a very simple, but very innacurate, method for all but the very brightest ones: by having the "stars" be different sizes: bigger "star" --> brighter "star." That's also the way that the digital Space Simulator that we've been looking at so far does the trick.
But that's not the way the real universe looks.
Unless your eyesight is really bad, the stars in the real sky all look the same size: pinpoints of light. Their brightness differences are entirely due to different intensities. That's the heart of why planetarium simulations never looked very real to me: different brightnesses were achieved by different sizes of images which all had the same surface brightness.
Here's an expanded view of Canis Major in the space simulator system, the one that does brightnesses the old-fashioned way:
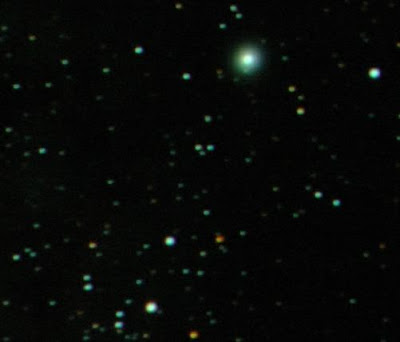
... and here, to the same scale, the constellation Lyra in the Konica-Minolta sky simulator system:
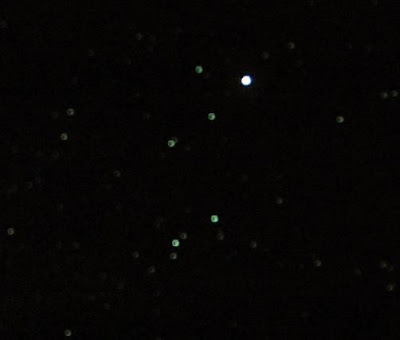
If you click on the above image, you'll see that all of the stars have exactly the same size, no matter what their brightness -- just the way the stars appear in the real sky. (As an added bit of realism, the 20 brightest stars in the Konica-Minolta sky can be made to twinkle!)
The realism of the sky simulator system is such that I still haven't figured out how to capture its view very well with my camera. Here's a two-minute exposure toward the Great Summer Triangle at f/8:
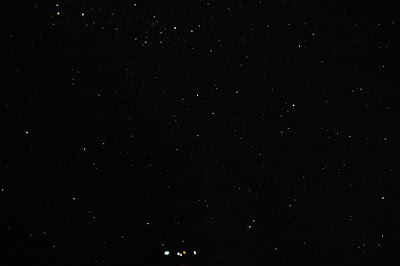
(the lights at the bottom are inside the projector itself.) And here's an eight-minute exposure:
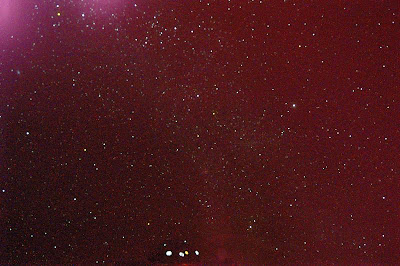
I was
baffled by the red glow here: to my eye, the dome was pitch black except for the pinpoints of the stars' images.
But the camera doesn't have the same spectral sensitivity that our eyes, do, evidently. Where the faint red in this long time-exposure came from is evident in this trial shot at a lower angle for the space-simulator system:
 Saturn, its rings, and some of its satellites' orbital paths.
See the bright red rectangle near the bottom about 3/4 of the way from left to right? That's an infrared broadcast station for the planetarium's assistive listening device system. Its radiation is invisible to the human eye -- but not to the D70's sensor! (This was the first time that I realized that my old digital camera records a significant amount of infrared. That's a little disconcerting.) So the pervasive red glow in the very-long time exposures is IR from these devices reflected from the dome.
The next time I try this, I'll turn off the ALD system... but I ran out of time this afternoon.
 The cities shine like stars.
===========================================


